
1. 프로젝트 초기화 및 환경 설정
NestJS 프레임워크 기반의 기본 구조와 데이터베이스 연결을 위한 설정 단계입니다.
- nestjs-cli-install, project-scaffolding, typescript-configuration, dotenv-env-file, mysql-docker-compose, prisma-schema-init, datasource-db-provider
2. 데이터베이스 모델링 (Prisma)
AIS 데이터를 효율적으로 저장하고 공간 쿼리를 처리하기 위한 스키마 설계 단계입니다.
- prisma-client-setup, vessel-entity-definition, mmsi-primary-key, latitude-longitude-float, speed-over-ground, course-over-ground, timestamp-index, spatial-data-handling
3. AIS 데이터 수집 및 파싱 로직
외부 AIS 수신 채널(UDP/TCP/Websocket)로부터 데이터를 받아 처리하는 핵심 로직입니다.
- ais-parser-library, sentence-decoding, nmea-0183-protocol, message-type-classification, raw-data-buffer, validation-pipe, exception-filter
4. 실시간 데이터 스트리밍 (WebSocket)
프론트엔드(Nuxt)로 항적 정보를 실시간 전달하기 위한 게이트웨이 구현입니다.
- socket-io-integration, websocket-gateway, client-subscription-room, real-time-broadcasting, throttling-interval, event-emitter-module
5. REST API 엔드포인트 구현
과거 항적 조회 및 선박 정보 검색을 위한 API 인터페이스입니다.
- vessel-controller, trajectory-service, prisma-find-many, pagination-logic, geo-json-formatter, swagger-api-docs, cors-policy-configuration
NestJS + Prisma 환경에서 AIS 데이터를 처리하기 위한 핵심 서버 로직을 구현해 보겠습니다.
1. Prisma 스키마 설계 (schema.prisma)
AIS 데이터의 핵심인 선박 식별 번호(MMSI)와 동적 정보(위치, 속도, 침로)를 저장할 구조입니다.
// schema.prisma
datasource db {
  provider = "mysql"
  url      = env("DATABASE_URL")
}

generator client {
  provider = "prisma-client-js"
}

model Vessel {
  id        Int      @id @default(autoincrement())
  mmsi      Int      @unique
  name      String?
  type      Int?
  updatedAt DateTime @updatedAt
  tracks    Track[]
}

model Track {
  id        BigInt   @id @default(autoincrement())
  mmsi      Int
  latitude  Float
  longitude Float
  sog       Float    // Speed Over Ground
  cog       Float    // Course Over Ground
  heading   Float?
  timestamp DateTime @default(now())
  vessel    Vessel   @relation(fields: [mmsi], references: [mmsi])

  @@index([mmsi, timestamp])
}
2. AIS 데이터 파싱 및 저장 서비스
외부에서 유입되는 NMEA 0183 형식의 AIS 메시지를 해석하여 DB에 저장하는 로직입니다.
- 설치 필요: npm install ais-decoder-ts (또는 유사 라이브러리)
// ais.service.ts
import { Injectable } from '@nestjs/common';
import { PrismaService } from './prisma.service';
import { SocketGateway } from './socket.gateway';

@Injectable()
export class AisService {
  constructor(
    private prisma: PrismaService,
    private socketGateway: SocketGateway
  ) {}

  async handleAisMessage(rawMessage: string) {
    // 1. AIS 메시지 디코딩 (가상 로직)
    const decoded = this.decodeAis(rawMessage);

    // 2. DB 업데이트 및 이력 저장 (Transaction)
    const result = await this.prisma.$transaction(async (tx) => {
      const vessel = await tx.vessel.upsert({
        where: { mmsi: decoded.mmsi },
        update: { updatedAt: new Date() },
        create: { mmsi: decoded.mmsi },
      });

      return tx.track.create({
        data: {
          mmsi: decoded.mmsi,
          latitude: decoded.latitude,
          longitude: decoded.longitude,
          sog: decoded.sog,
          cog: decoded.cog,
        },
      });
    });

    // 3. 실시간 클라이언트에 전송
    this.socketGateway.server.emit('vesselUpdate', result);
  }

  private decodeAis(message: string) {
    // NMEA 0183 -> JSON 변환 로직 구현부
    return { mmsi: 440123456, latitude: 35.123, longitude: 129.456, sog: 12.5, cog: 180 };
  }
}
3. 실시간 통신을 위한 Socket.io 게이트웨이
Nuxt(Leaflet) 클라이언트와 연결되어 실시간으로 선박 위치를 밀어주는 역할을 합니다.
// socket.gateway.ts
import { WebSocketGateway, WebSocketServer, OnGatewayConnection } from '@nestjs/websockets';
import { Server } from 'socket.io';

@WebSocketGateway({ cors: { origin: '*' } })
export class SocketGateway implements OnGatewayConnection {
  @WebSocketServer()
  server: Server;

  handleConnection(client: any) {
    console.log(`Client connected: ${client.id}`);
  }
}
4. API 컨트롤러 (조회용)
대시보드 초기 로딩 시 전체 선박의 최신 위치를 가져오는 API입니다.
// vessel.controller.ts
@Controller('api/vessels')
export class VesselController {
  constructor(private prisma: PrismaService) {}

  @Get('current')
  async getAllVessels() {
    return this.prisma.vessel.findMany({
      include: {
        tracks: {
          orderBy: { timestamp: 'desc' },
          take: 1,
        },
      },
    });
  }
}
Nuxt 3를 기반으로 Leaflet 라이브러리를 활용해 OpenSeaMap 레이어를 올리고, 서버에서 쏜 데이터를 실시간으로 시각화하는 핵심 코드를 작성해 보겠습니다.
1. 프로젝트 설정 및 라이브러리 설치
Nuxt 환경에서 지도 구현을 위한 의존성 패키지를 설치합니다.
- nuxt-project-init, leaflet-library-install, socket-io-client, leaflet-css-import, composition-api-setup
2. 지도 컴포넌트 구현 (L-Map 구성)
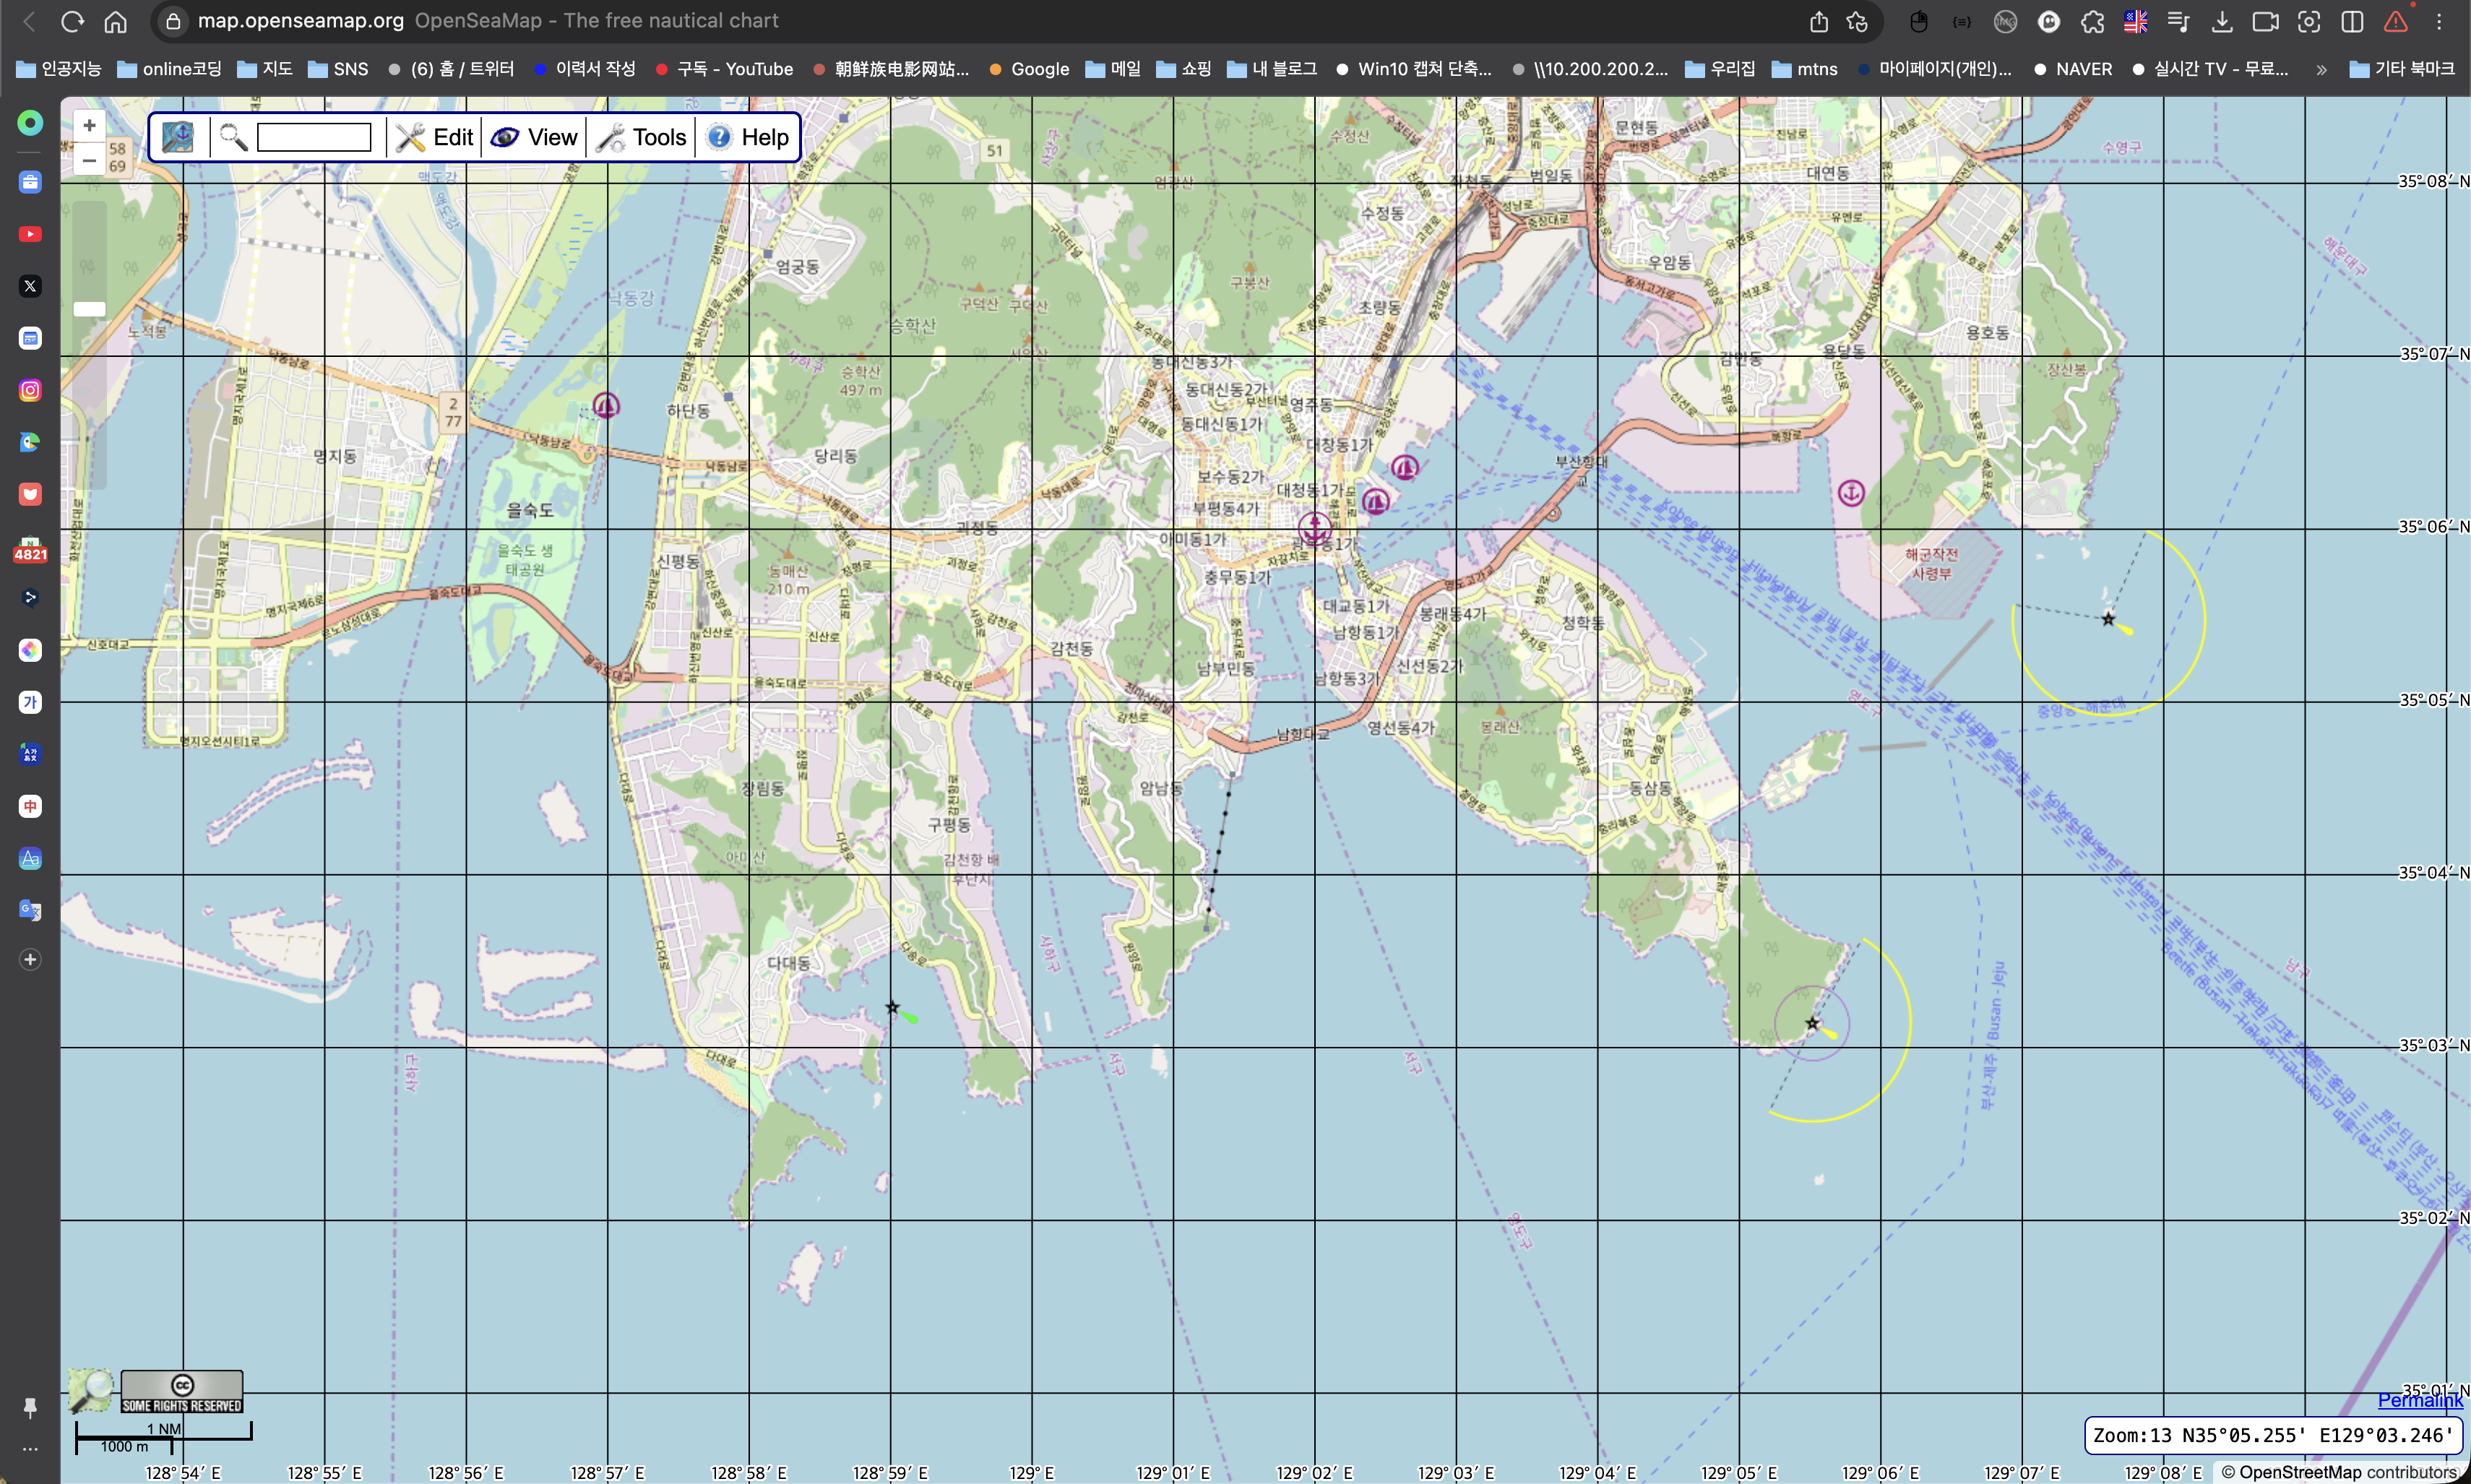
OpenSeaMap 타일 레이어는 표준 OSM 타일 위에 해상 정보를 덮어씌우는 방식으로 작동합니다.
// components/AisMap.vue
<script setup>
import { onMounted, ref } from 'vue';
import L from 'leaflet';
import { io } from 'socket.io-client';
const mapContainer = ref(null);
const markers = new Map(); // MMSI를 키로 마커 관리
onMounted(() => {
// 1. 지도 초기화 (한국 인근 해역 예시)
const map = L.map(mapContainer.value).setView([35.1, 129.1], 10);
// 2. 기본 베이스 레이어 (OpenStreetMap)
L.tileLayer('https://{s}.tile.openstreetmap.org/{z}/{x}/{y}.png').addTo(map);
// 3. OpenSeaMap 해상 타일 레이어 추가
L.tileLayer('https://tiles.openseamap.org/seamark/{z}/{x}/{y}.png', {
attribution: 'Map data: © OpenSeaMap contributors'
}).addTo(map);
// 4. WebSocket 연결
const socket = io('http://localhost:3000');
socket.on('vesselUpdate', (data) => {
updateVesselMarker(map, data);
});
});
// 마커 업데이트 로직
function updateVesselMarker(map, data) {
const { mmsi, latitude, longitude, cog } = data;
if (markers.has(mmsi)) {
// 기존 마커 위치 및 회전 업데이트
markers.get(mmsi).setLatLng([latitude, longitude]);
// rotate 관련 플러그인 사용 시: markers.get(mmsi).setRotationAngle(cog);
} else {
// 새 선박 마커 생성
const marker = L.marker([latitude, longitude]).addTo(map)
.bindPopup(`MMSI: ${mmsi}`);
markers.set(mmsi, marker);
}
}
</script>
<template>
<div ref="mapContainer" class="ais-map"></div>
</template>
<style scoped>
.ais-map { height: 100vh; width: 100%; }
</style>3. 선박 아이콘 최적화 (Canvas/SVG)
선박 수가 많아질 경우 성능을 위해 SVG 아이콘이나 Canvas 렌더링을 사용합니다.
- svg-vessel-icon, rotation-plugin-leaflet, smooth-marker-transition, performance-optimization, canvas-renderer
4. 대시보드 UI 결합
Nuxt 페이지 레이아웃에서 지도와 선박 목록 사이드바를 결합합니다.
- nuxt-layout-grid, sidebar-vessel-list, search-filter-mmsi, reactive-state-pinia, map-fly-to-function
선박의 방향을 표시하는 마커 회전 기능과 지나온 길을 표시하는 항적(Polyline) 시각화 기능을 합쳐서 Nuxt 3 클라이언트 코드를 완성해 보겠습니다.
1. 필수 플러그인 및 아이콘 설정
마커 회전을 위해 leaflet-rotatedmarker 패키지가 필요하며, 선박 모양의 SVG 아이콘을 정의해야 합니다.
- leaflet-rotatedmarker-install, svg-path-vessel, icon-anchor-center, polyline-options-color, tailwind-css-layout
2. 통합 프론트엔드 코드 (AisDashboard.vue)
이 코드는 실시간 위치 업데이트, 마커 회전, 항적 그리기를 모두 포함합니다.
import { onMounted, ref } from 'vue';
import L from 'leaflet';
import 'leaflet-rotatedmarker'; // 마커 회전용 플러그인
import { io } from 'socket.io-client';

const mapContainer = ref(null);
const vessels = {}; // { mmsi: { marker: L.marker, path: L.polyline, coords: [] } }

// 선박 모양 SVG 아이콘 설정
const vesselIcon = L.divIcon({
  html: `<svg viewBox="0 0 24 24" width="30" height="30" fill="red">
           <path d="M12,2L4.5,20.29L5.21,21L12,18L18.79,21L19.5,20.29L12,2Z" />
         </svg>`,
  className: 'vessel-svg-icon',
  iconSize: [30, 30],
  iconAnchor: [15, 15]
});

onMounted(() => {
  const map = L.map(mapContainer.value).setView([35.1, 129.1], 10);

  // 레이어 설정
  L.tileLayer('https://{s}.tile.openstreetmap.org/{z}/{x}/{y}.png').addTo(map);
  L.tileLayer('<a href=https://tiles.openseamap.org/seamark/>https://tiles.openseamap.org/seamark/</a>{z}/{x}/{y}.png').addTo(map);

  const socket = io('http://localhost:3000');

  socket.on('vesselUpdate', (data) => {
    const { mmsi, latitude, longitude, cog } = data;
    const pos = [latitude, longitude];

    if (!vessels[mmsi]) {
      // 1. 신규 선박: 마커 및 항적 객체 생성
      const marker = L.marker(pos, {
        icon: vesselIcon,
        rotationAngle: cog // 회전 각도 설정
      }).addTo(map);

      const path = L.polyline([pos], {
        color: 'blue',
        weight: 2,
        opacity: 0.5
      }).addTo(map);

      vessels[mmsi] = { marker, path, coords: [pos] };
    } else {
      // 2. 기존 선박: 위치, 회전, 항적 업데이트
      const v = vessels[mmsi];

      v.marker.setLatLng(pos);
      v.marker.setRotationAngle(cog); // 방향(Course Over Ground) 업데이트

      v.coords.push(pos);
      if (v.coords.length > 50) v.coords.shift(); // 최근 50개 포인트만 유지
      v.path.setLatLngs(v.coords);
    }
  });
});
실시간 AIS 모니터링
활성 선박: {{ Object.keys(vessels).length }}척
3. 핵심 구현 포인트 요약
- 마커 회전(Rotation): cog(지상침로) 값을 rotationAngle에 바인딩하여 선박이 진행 방향을 바라보게 합니다.
- 항적 관리(Polyline): 배열에 위치 정보를 누적(push)하고 setLatLngs로 선을 갱신합니다. 메모리 관리를 위해 shift()로 오래된 좌표는 제거합니다.
- OpenSeaMap 중첩: 기존 지도 위에 seamark 레이어를 추가하여 등부표, 항로 표지 등을 시각화합니다.
4. 최종 프로젝트 아키텍처
- MySQL: 선박 정보 및 항적 이력 보관
- Prisma: 타입 안정성이 보장된 DB 쿼리
- NestJS: AIS 파싱 및 Socket.io 서버
- Nuxt 3: Leaflet 기반 실시간 대시보드 UI
이로써 서버(NestJS) - DB(MySQL/Prisma) - 클라이언트(Nuxt/Leaflet)를 잇는 실시간 AIS 대시보드의 전체 흐름이 완성되었습니다. 추가적으로 특정 선박 클릭 시 상세 정보를 보여주는 인포윈도우나 데이터 필터링 기능을 넣으면 완벽한 대시보드가 됩니다.
'IT 개발,관리,연동,자동화' 카테고리의 다른 글
| 미래 농업의 시작, IoT 스마트팜 시스템 구축 가이드 (2) | 2025.12.22 |
|---|---|
| [Special Report] 물류 데이터의 심장: 보세화물 수입신고 시스템 구축을 위한 DB 모델링 (0) | 2025.12.20 |
| 관세청 수입신고서의 상세 항목을 바탕으로 MySQL 테이블 설계 (1) | 2025.12.19 |
| NestJS를 활용한 MQTT, Modbus 기반 실시간 데이터 수집 및 처리 시스템 구축 가이드 (1) | 2025.12.18 |
| MariaDB MCP 서버: 이제 데이터베이스와 직접 대화하세요 (0) | 2025.12.17 |